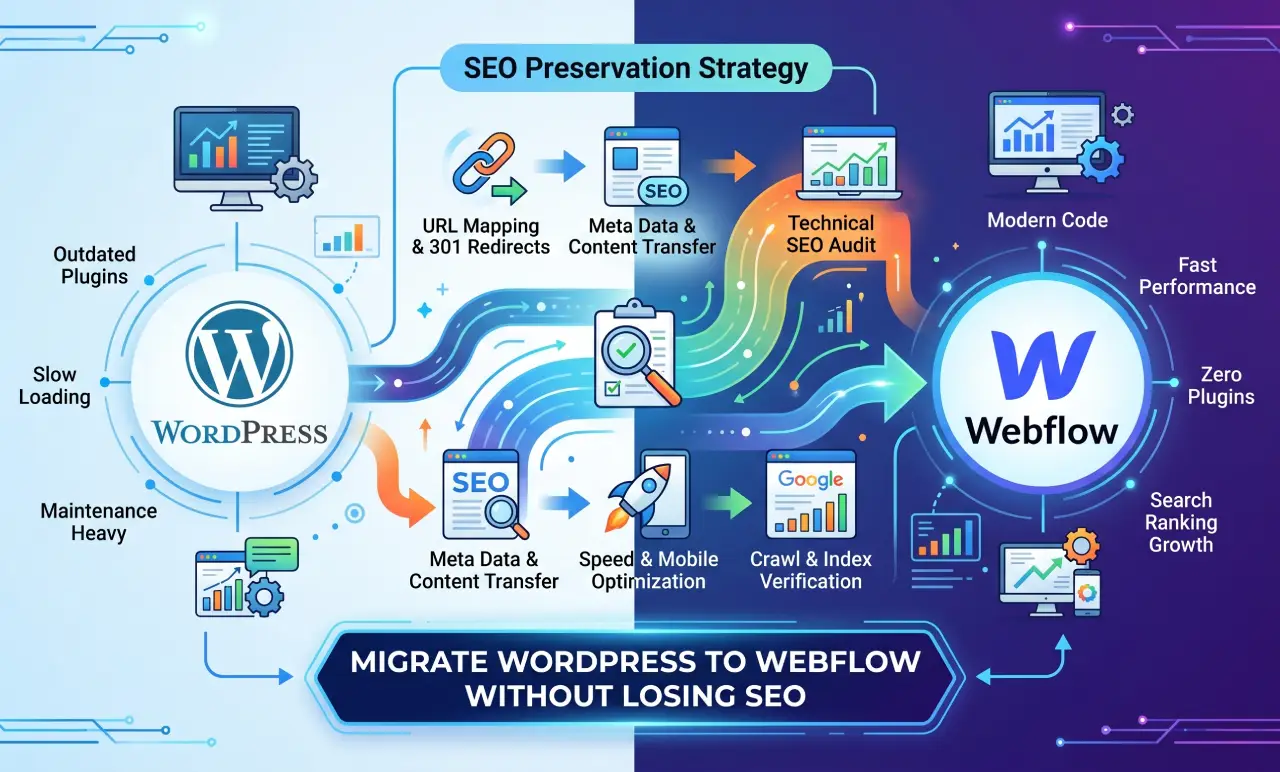

To successfully learn how to migrate WordPress to Webflow without losing SEO, you must execute a flawless data mapping strategy. This requires mapping your relational databases to the Webflow CMS, matching nested URL category hierarchies using clean regex 301 redirects, injecting automated JSON-LD schema architectures, and optimizing global asset delivery networks to preserve existing Google and AI search index rankings.
Strategic Pillar Context Maps
Beyond the Visual Drag-and-Drop
Moving a corporate digital asset from WordPress to Webflow is an enticing proposition for UX designers and front-end developers alike. The promise of clean, semantic code output, zero plugin-dependency security models, and absolute design freedom across responsive viewports makes Webflow a premier destination for scaling brands.
However, a platform migration is a high-risk technical operation. Beneath the beautiful visual canvas lies a delicate web of database entities, established URL taxonomy patterns, media asset pathways, and historical search equity. If you migrate haphazardly, your organic visibility can drop instantly.
To prevent this catastrophe, you must approach the transition not as a visual redesign, but as a rigorous digital infrastructure migration. This comprehensive technical guide outlines exactly how to migrate WordPress to Webflow without losing SEO, protecting your hard-earned traffic while upgrading your site performance.
Phase 1: Pre-Migration Auditing and Site Discovery
Extracting the Organic Footprint
Before writing a single line of code or modifying a DNS record, you must crawl and index every corner of your existing WordPress instance. Do not rely on your memory or a standard XML sitemap. Run a full web crawl using a diagnostic tool like Screaming Frog SEO Spider.
Configure your crawler to capture:
- Every active, indexable HTML URL (
200 OKstatus codes). - All structured meta titles, meta descriptions, and H1 headings.
- Your existing relational image file links and attachment destination paths.
- Canonical tag configurations and pagination structures.
Export this master dataset into a secure database spreadsheet. This document serves as your single source of truth and your ultimate safety net during post-migration verification.
Analyzing Traffic Data
Cross-reference your site crawl with active performance metrics from Google Analytics 4 (GA4) and Google Search Console. Filter your top-performing landing pages by impressions, clicks, and keyword rankings over the past 12 months. Label these high-equity pages within your master audit sheet. These assets require absolute structural parity during reconstruction to ensure that modern machine-learning search crawlers encounter zero algorithmic friction.
Phase 2: Platform Architectural Blueprinting
Comparing Content Structural Layouts
WordPress and Webflow organize data frameworks fundamentally differently. WordPress relies heavily on a relational MySQL database system that links posts, terms, and meta tables through a web of external plugins. Webflow uses a built-in, flat relational framework called the Webflow CMS Collections engine.
To maintain strict topical authority across both platforms, you must understand how your components convert:
| Architectural Component | WordPress Core System Architecture | Webflow Engine Platform Equivalent |
| Primary Structural Document | Pages (wp_posts table with page type definition) | Static Canvas Pages |
| Dynamic Relational Content | Posts (wp_posts with custom post types) | CMS Collections Engines |
| Taxonomy Classification | Categories & Tags (wp_terms relational databases) | Multi-Reference Collection Fields |
| Meta Information Attributes | Custom Fields (wp_postmeta data hooks) | Custom CMS Fields (Plain text, Rich text, Links) |
| Media Repository Assets | Media Library Uploads (/wp-content/uploads/) | Global Webflow Asset Manager via AWS CDN |
| Structured Entity Mapping | Manual plugins or theme-dependent PHP hooks | Custom Core HTML Canvas Code Embeds |
Designing the Webflow CMS Collection Schema
In Webflow, recreate your WordPress database fields using explicit CMS data slots. If your WordPress site features custom post types for “Case Studies” with custom meta fields for “Client Name,” “Project Date,” and “Results Metric,” you must build a Webflow CMS Collection named “Case Studies” containing those exact custom field parameters.
Ensure that your Webflow rich-text fields are meticulously configured to accept nested HTML elements (H2, H3, text links, and bullet lists) natively. This layout discipline prevents clean, semantic content from breaking when imported into the new platform engine.
Phase 3: Content Extraction and Database Translation
Exporting Content Cleanly from WordPress
To extract content out of your WordPress instance, navigate to the administrative dashboard, select Tools, and choose Export. Select your target content types to download the native WordPress Extended RSS (WXR) XML file.
For large enterprise instances containing thousands of deep relational records, use specialized database extraction utilities to isolate your post fields directly into structured CSV or JSON files.
Scrubbing Data and Eliminating Legacy Technical Debt
WordPress content exports are notorious for carrying hidden technical junk. They often contain inline styling properties, broken shortcodes from inactive block libraries, and messy nested HTML tags.
Open your exported CSV or JSON data inside a robust code editing interface or a spreadsheet processing script to execute global search-and-replace cleanup protocols:
- Strip out old plugin tracking strings and layout shortcodes (e.g.,
[vc_row],[/vc_column]). - Convert any absolute URLs referencing your temporary staging environments back into clean, root-relative path strings.
- Ensure all image tags contain descriptive, keyword-relevant alternate image text tags (
alt="") to preserve visual indexing value.
Importing Content Data Sets into the Webflow Engine
Navigate to your Webflow dashboard, enter your pre-configured CMS Collection, and click Import. Upload your scrubbed data spreadsheet. Map every column variable directly to its corresponding Webflow CMS collection field asset. Use Webflow’s automated validator tool to ensure data alignment before running the script.
Phase 4: Constructing Responsive Layouts and Maintaining SEO Structural Parity
Rebuilding Content Hierarchies with Clean Code Layouts
When building your visual layout designs on the Webflow canvas, maintain strict architectural parity with your old design frameworks. If an old page used a singular $H_1$ heading for the topic title, followed by three H2 subheadings and two nested H3 detail strings, you must match that typographic structure exactly.
[H1] Primary Topic Title
  ├── [H2] Key Strategic Concept One
  │     ├── [H3] Detailed Supporting Metric A
  │     └── [H3] Detailed Supporting Metric B
  └── [H2] Key Strategic Concept Two
Do not skip heading levels to achieve visual styling results. Instead of using an H3 tag just because you want text to look smaller, use global Webflow CSS utility classes on an H2 element to style it to your liking. This discipline keeps your document outline clear and accessible for search bots.
Optimizing Media Assets and Core Web Vitals
Webflow automatically processes images into responsive variations, but you can maximize performance by optimizing your files before uploading them:
- Convert heavy legacy PNG and JPEG formats into modern, lightweight WebP formats.
- Compress all file dimensions to match their actual desktop display breakpoints, keeping files well below 150KB.
- Set your embedded media properties to use lazy-loading, ensuring non-critical page elements load only when scrolled into view.
Phase 5: Executing Global Redirect Maps and Routing Infrastructure
Building a Fault-Tolerant 301 Redirect Strategy
The single most critical factor in retaining search equity during a migration is ensuring old URLs map flawlessly to new ones. If a URL breaks and returns a 404 Not Found error, search engines will drop that page from their index, destroying its ranking authority.
Create a side-by-side URL mapping index in your master project spreadsheet:
[Old WordPress Path Structure] [New Webflow Canvas Destination Path]
https://domain.com/category/old-post-slug/ —> https://domain.com/blog/old-post-slug
Configuring Rules inside the Webflow Dashboard
Open your Webflow Project Settings, navigate to the Publishing tab, and locate the 301 Redirects control panel. For individual URL changes, input your old relative path structure and pair it directly with the new destination URL.
For large content sites with thousands of matching posts, save time by using dynamic wildcard routing structures:
Old Path Pattern: /category/%(slug)
New Path Pattern: /blog/%(slug)This dynamic mapping structure safely captures all incoming referral traffic and search engine bots, routing them instantly to your updated Webflow architecture with zero latency.
Phase 6: Post-Launch Quality Assurance and Indexing Verification
Updating DNS Records Safely
When you are ready to point your domain to the new site, log in to your external domain registrar and update your DNS records to point to Webflow’s global fast-routing infrastructure.
Reduce your old A-record Time-to-Live (TTL) values to 300 seconds a day prior to launching. This small change ensures your new IP addresses update across global web servers in minutes, minimizing downtime during switchover.
Running Post-Migration Validation Protocols
Once the DNS updates resolve, trigger a fresh site crawl using Screaming Frog. Configure the spider tool to crawl your old list of WordPress URLs and confirm that every single old path triggers a clean 301 Redirect pointing directly to its new Webflow destination.
Finally, submit your new Webflow XML sitemap to Google Search Console to alert search crawlers to your updated structural layout. Monitor your crawl error reports closely over the next 30 days to catch and resolve any lingering issues immediately.
Master The New Rules Of WordPress Performance
Don’t let a slow site undermine your authority. Our WordPress Speed Optimization Service utilizes an “Architectural Hardening” methodology to strip away code bloat.